Apartment Emergency Preparedness: A Practical Small-Space Guide
A practical apartment emergency preparedness guide covering small-space supplies, evacuation routes, power outages, water storage, pets, and renter-specific planning.
The Short Version
A practical apartment plan has three parts: a compact home supply, a portable bag near the exit, and a clear evacuation plan that does not depend on elevators.
Start with three days of water and food, basic lighting and communication, necessary medications, a first aid kit, copies of essential information, and the available exits and evacuation procedures for your building.
Jump to a section
Preparing for emergencies can feel awkward when you live in an apartment. You may have no garage, basement, or spare room. Water is heavy, storage is limited, and the safest response may depend on instructions from a landlord or building manager.
You can prepare effectively in a small home. Build an organized plan around your available space and the realities of a shared building.
This guide focuses on those differences. Instead of trying to store everything, you will identify the supplies that matter most, choose sensible storage zones, and make a clear plan for staying home or leaving quickly.
What Makes Apartment Preparedness Different?
Most emergency checklists are written as if everyone has a large house and unlimited storage. Apartment residents face a different set of problems:
- You share hallways, stairs, entrances, utilities, and fire systems with other residents.
- Elevators may stop during a power outage or should not be used during a fire.
- Your main exit may become crowded or blocked.
- Water and food must fit into cabinets, closets, or under furniture.
- Smoke, leaking water, or another problem in a neighboring unit can affect yours.
- Building rules may limit fuel, cooking equipment, or items stored on balconies.
The goal is not to prepare for every disaster separately. Prepare for the consequences that appear repeatedly: loss of electricity, unsafe water, interrupted communication, evacuation, smoke, extreme temperatures, and temporary isolation.
Step 1: Learn Your Building Before an Emergency
Walk through the building when everything is normal. Locate the nearest exit stairwell, then identify another route in case the first one is blocked. Ready.gov advises people in high-rise buildings to know the closest emergency exit and another way out.
Do not assume the elevator will be available. During a fire, follow the building’s instructions and use the stairs rather than the elevator. During other emergencies, elevators may stop because of a power failure or building damage.
Ask the landlord or building manager:
- Where are the emergency exits and outdoor assembly area?
- Does the building have backup power for alarms, hallway lighting, or elevators?
- How will management communicate during an emergency?
- What is the procedure for residents who cannot use stairs?
- Are there restrictions on batteries, fuel, grills, heaters, or balcony storage?
- Where are utility shutoffs, extinguishers, and fire alarm pull stations?
Save the building manager’s number in your phone and write it on a paper contact card. A phone with no power is a poor place to keep your only copy.
Step 2: Make a Stay-or-Go Plan
Apartment emergencies generally require one of two responses: remain safely inside or evacuate. You will not always choose for yourself; emergency services or building management may issue instructions.
If You Need to Stay Inside
Choose the safest practical room for a short stay. Keep water, food, a flashlight, a radio, phone power, necessary medication, and basic sanitation supplies available. For an extended outage, closing unused rooms may make a small heated or cooled area easier to manage, but never use unsafe indoor heating or cooking devices.
If You Need to Leave
Choose two destinations in different directions: perhaps a relative’s home, a friend’s apartment, a hotel, or a community shelter. Plan more than one walking and driving route. Decide where everyone will meet if an emergency occurs while family members are at work, school, or daycare.
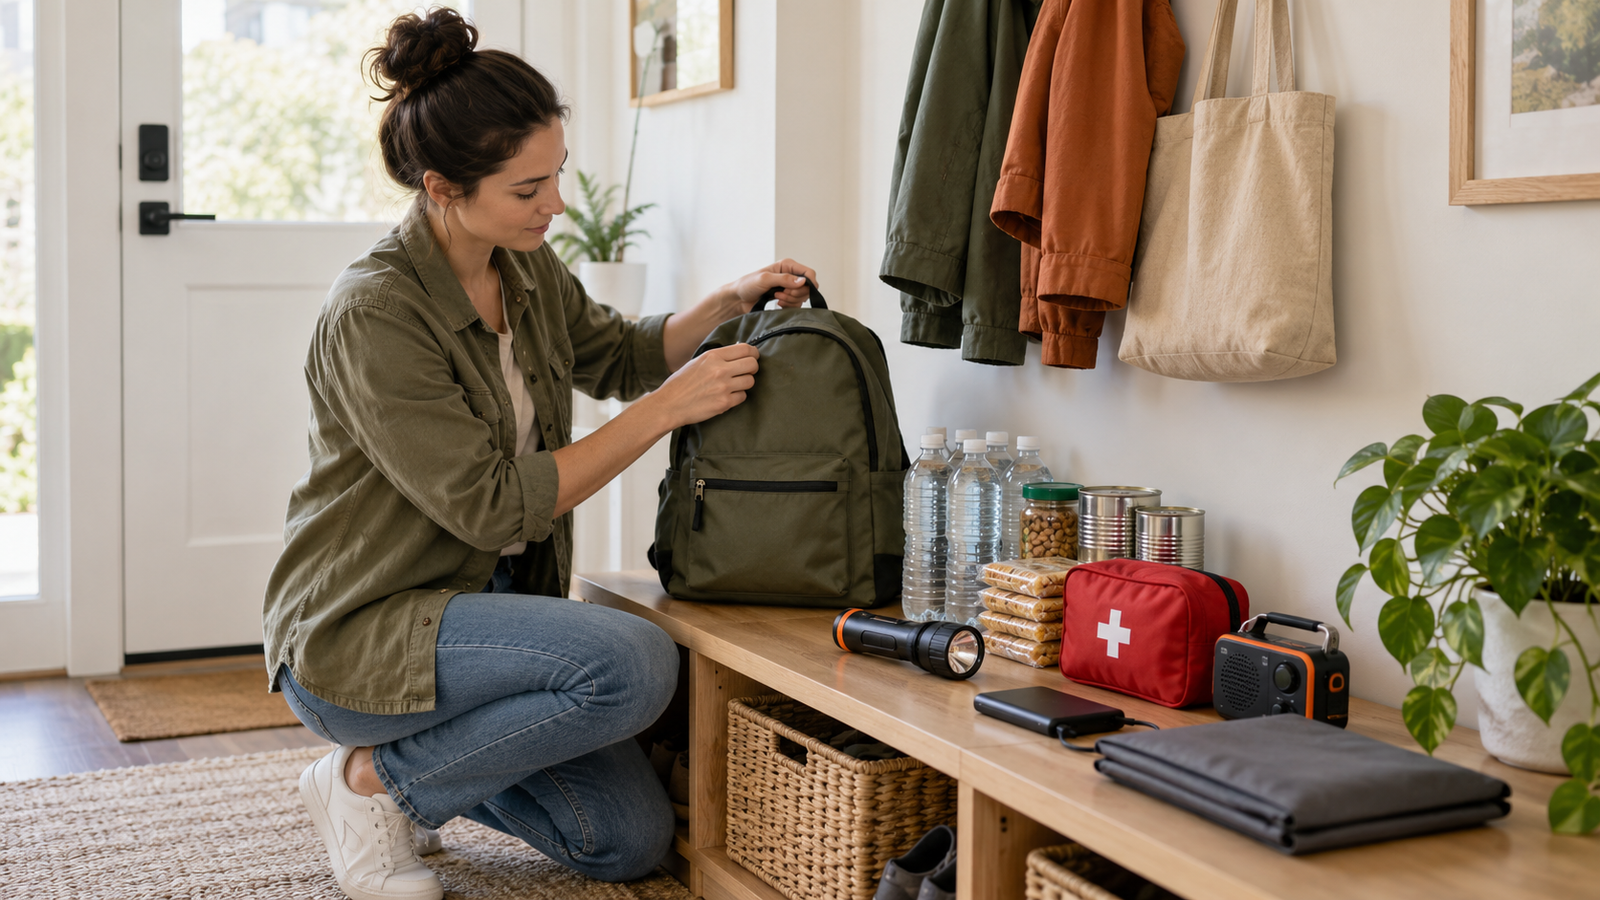
Keep a compact bag close to the exit, but do not block the doorway or hallway. It should be light enough for the person expected to carry it down the stairs.
Step 3: Use Three Small Storage Zones
A single giant emergency box wastes space and can become impossible to move. Apartment preparedness works better when supplies are divided by purpose.
| Zone | Purpose | What belongs there |
|---|---|---|
| Home supply | Sheltering inside | Most water and food, sanitation supplies, blankets, larger flashlight |
| Exit bag | Leaving quickly | Documents, medication, small first aid kit, light, radio, charger, snacks |
| Bedside pocket | Nighttime emergency | Shoes, flashlight, glasses, phone, whistle, keys |
Good storage locations include the bottom of a closet, beneath a sturdy bed, inside a bench with storage, or on a reinforced low shelf. Spread heavy water containers across suitable locations rather than placing all the weight on one high shelf.
Step 4: Store Water Without Filling the Apartment
Water is usually the hardest supply to fit. The standard starting point is at least one gallon per person per day for at least three days. A family of four therefore needs at least 12 gallons for a basic 72-hour supply.
If two weeks of water is unrealistic today, do not abandon the plan. Begin with three days and build gradually. Our guide on how much emergency water to store includes a household calculation table and advice for longer supplies.
For apartments:
- Use several smaller containers rather than one container that is too heavy to move.
- Keep water away from direct sunlight, heat, cleaning chemicals, and fuels.
- Use commercially bottled water or containers specifically intended for food and drinking water.
- Check every container for leaks before placing it near clothing, documents, or electronics.
- Include additional water for pets, medical needs, hot weather, and pregnancy.
Do not store heavy water containers on a high shelf where they could fall. If you are unsure about floor or shelving loads, ask building management before creating a large reserve.
Step 5: Choose Compact Food That Requires Little Preparation
Apartment emergency food should be shelf-stable, familiar, and easy to prepare without normal kitchen utilities. Choose foods your household already eats, then rotate them into ordinary meals before they expire.
Useful choices include canned beans, fish, fruit, nut or seed butter, crackers, shelf-stable milk, ready-to-eat grains, protein bars, and food appropriate for infants or medical diets. Keep a manual can opener with the food.
Never use charcoal grills or portable gas camp stoves indoors. Never run a generator inside an apartment or garage. The CDC requires outdoor generator operation more than 20 feet from windows, doors, and vents; a balcony near your own or neighbors’ openings does not provide that clearance. If you cannot meet safe placement requirements and building rules, plan around ready-to-eat food and suitable battery power.
Use the family emergency pantry guide to plan meals, portions, and rotation without wasting storage space.
Step 6: Prepare for Power and Communication Loss
A power outage can affect hallway lighting, elevators, water pumps, electronic entry systems, heating, cooling, and the ability to receive updates.
Keep at least two independent light sources. Headlamps are particularly useful because they leave both hands free on stairs. Add spare batteries, a charged power bank, charging cables, and a battery or hand-crank radio.
Write down important telephone numbers. Choose one contact outside your immediate area who can help family members share updates if local networks are congested. Text messages may sometimes go through when voice calls do not, but no single method should be your entire plan.
Charge devices before severe weather arrives and enable official local emergency alerts. Do not use candles as your primary lighting source; an open flame adds fire risk in a crowded building.
Our power-outage checklist covers food temperatures, medical backup plans, and when to move to a safer location.
Step 7: Build a Small First Aid and Medication System
You do not need a medical cabinet the size of a suitcase. You need a kit that covers common injuries and is easy to reach.
Use our home first aid kit checklist to review the essentials. If you prefer a ready-made option, our comparison of first aid kits for families explains what different kits include and what they still leave out.
Keep prescription medication, allergy information, medical contacts, and required devices together. Ask a healthcare professional or pharmacist how to plan safely for interrupted access to prescriptions or treatments. Refrigerated medication may require a specific backup plan.
Step 8: Include Children, Pets, and Accessibility Needs
A plan that works only for the strongest adult is not a complete household plan.
For young children, include comfort items, diapers, wipes, feeding supplies, and a paper containing family contact details. Explain the plan without frightening them and practice walking to the meeting location.
For pets, keep a carrier, leash, food, water, medication, waste bags, and identification ready. Ready.gov recommends arranging with neighbors, friends, or relatives who could care for or evacuate a pet if you cannot get home.
Anyone who may have difficulty using stairs needs a plan agreed upon with building management and trusted neighbors. Never assume someone can simply be carried. Discuss mobility equipment, communication needs, backup power, and assistance before an emergency.
Step 9: Protect Important Information
Renters can lose documents and property just as homeowners can. Photograph valuable possessions and record serial numbers where appropriate. Keep digital copies of essential documents in a secure account and paper copies in a portable waterproof pouch.
Consider renters insurance and understand what the policy covers. Keep the insurer’s contact details and policy number with your emergency information.
Your portable information packet may include:
- Identification and insurance details.
- Emergency contacts and meeting locations.
- Medication and allergy information.
- Pet records.
- Building management contact details.
- A small amount of cash in useful denominations.
Apartment Preparedness Checklist
- Learn the available exit routes, locate the stairs, and confirm your building’s evacuation and assistance procedures.
- Choose an outdoor meeting point.
- Ask management how emergency alerts are sent.
- Put shoes and a flashlight beside the bed.
- Store the first three days of water.
- Place a compact bag near the exit.
- Write down essential contacts.
- Check smoke and carbon-monoxide alarms according to local rules and manufacturer guidance.
- Set a date to review the plan in six months.
Final Thoughts
Apartment emergency preparedness is not about squeezing a warehouse into a small home. It is about choosing supplies that solve likely problems and placing them where they can actually be used.
Start with the building: learn the exits, stairs, alarms, and communication system. Then build three manageable layers—a home supply, a portable exit bag, and a few bedside essentials. Add water, food, lighting, communication, medication, and first aid a little at a time.
A compact plan that everyone understands is far more useful than a crowded closet full of equipment nobody can reach.
This article provides general preparedness information. Follow instructions from local emergency services and your building management. Fire codes, evacuation procedures, and renter responsibilities vary by location.